 |
||
|
The making of 'de Luikerwaal' or What has to be done before one magic lantern slide may appear on the site? |
||
Of course I preferably use pictures of my own collectors items and those of other collectors for this website. In that case I can take the photos as I like them and just like I need them to place easily on the site. However often people offer me photos that look less ready for use and therefore need a face lift. For such a makeover you need a photo editing program that has a number of basic functions such as crop, sharpen, clarify and that sort of things. Above that it is necessary that the program can correct perspective distortion. The pictures are namely often taken 'from the hand'. |
|
 |
 Still far from being suitable for publication, but now we can do something with it. |
|
It's a prerequisite that
the editing program is able to handle different layers. This feature enables
mounting photos on each other
or pasting a part from one photo to another easier. It's not necessarily to
use a very expensive program like Photo Shop or Lightroom. I use Paint
Shop Pro, which is not too expensive, is rather easy to use, and does exactly everything I want. Sometimes people think it can't be difficult to place the photos on the site. A piece of cake, isn't it? Read and view the following report and judge for yourself. |
|
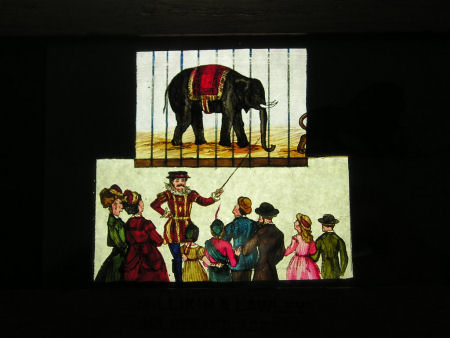
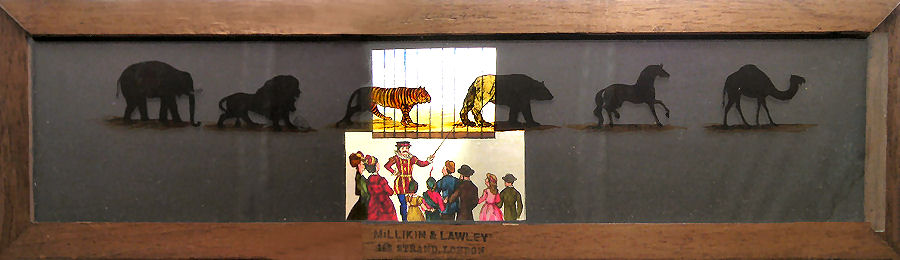
| An explanation in the zoo. | |
 |
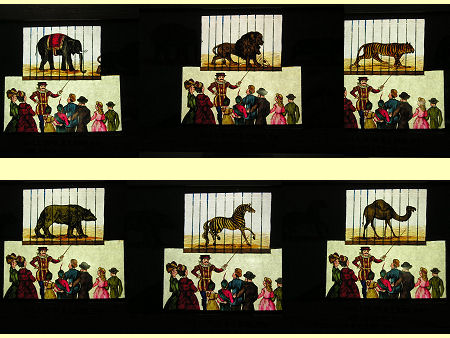 |
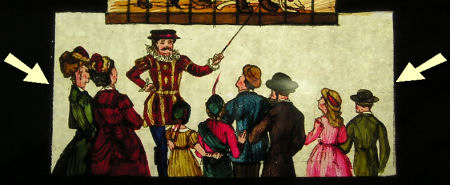
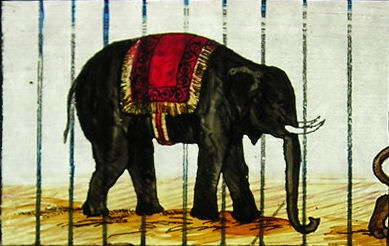
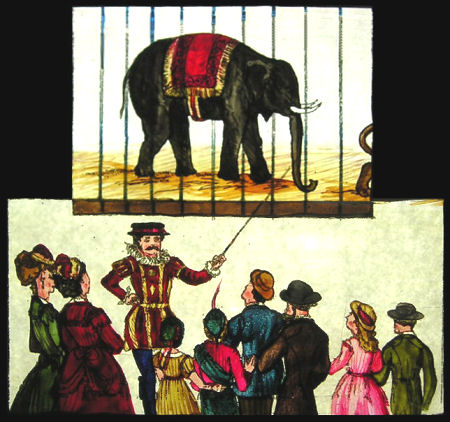
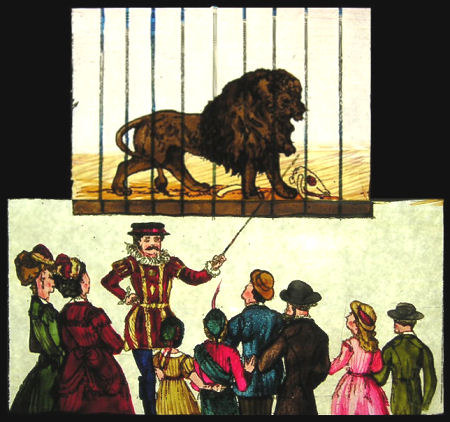
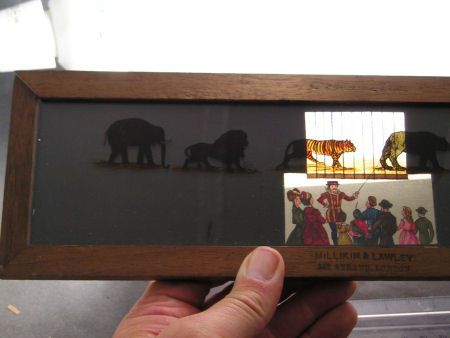
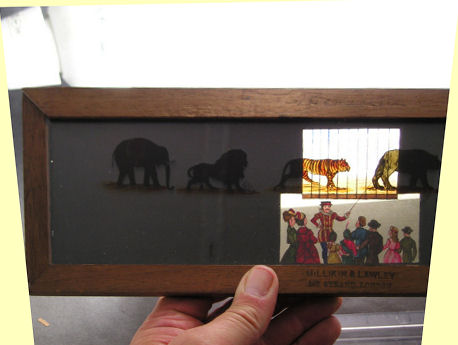
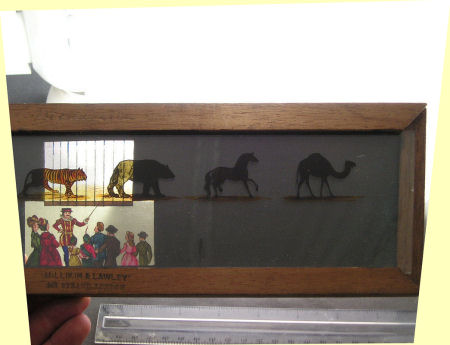
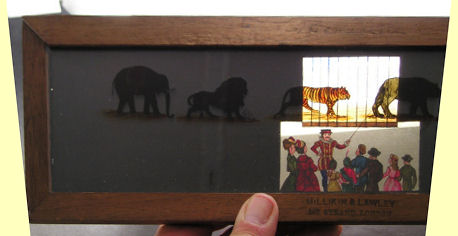
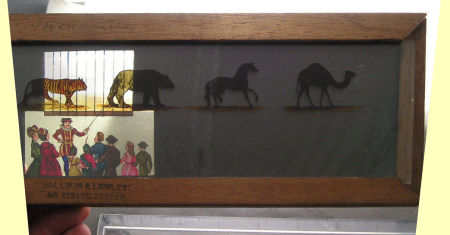
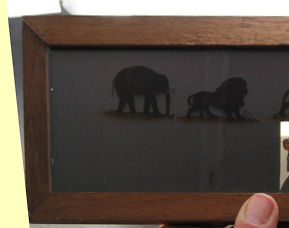
| On the fixed glass a group of people is pictured. A man in colourful clothing stands in front of them and gives them an explanation about the animals. An elephant, a lion, a tiger, a bear, a zebra, and a camel. These animals are depicted on the loose, sliding glass of this lantern slide. Format of the original image is 1024 x 768 pixels. | Fortunately I got images of all six animals, so it is possible to make an animation out of it. Of course, in reality the animals slowly go by, while they are in the animation moving at one time. In this case that's the only possibility. Anyhow it gives a good impression of the performance at the time. |
| In principle all six images could be used without more for an animation sequence, but because the photos have been taken out of hand this would give a very bad, restless and messy result. The pictures would always jump back and forth and up and down. It is much better to take the stationary portion apart and later on putting the changing part, in this case the cage with continually another animal, over it and merge it. | |
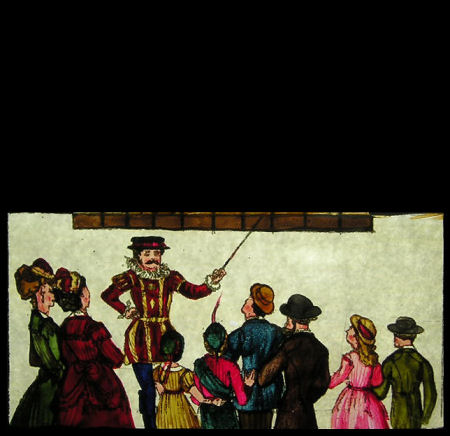 |
 First of all the perspective distortion on the original image has to be corrected. Then the original image is cut to an almost square picture. The cage is wiped out in its entirety and has become a large black area now. In this way we have made a base plate on which the six animal cages now can be mounted successively. |
 From all six images with the animals the cages are cut out. These have also to be transformed into perspective and also scaled to the right dimensions. |
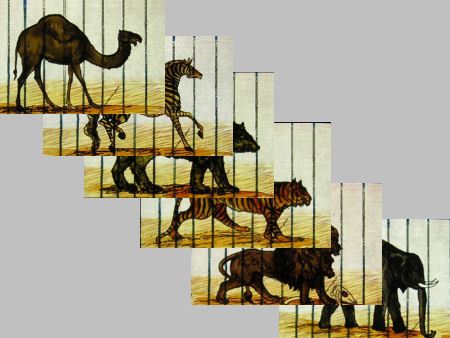 |
| The images of the cages with an animal have now to be pasted piece by piece on the base plate. They should, of course, join the rest of the plate and also have all exact the same size. | |
 |
 |
| Yes, you're right ..... a very work all in all. But in the end we have than six plates with a fixed part (the group of people) and a changing part (the cage). These six images are now transformed to the desired size. In our case 450 x 436 pixels. Then they need some touch-up. Brightness, contrast and sharpness are some improved and then the six images go to the animation program which is a part of the Paint Shop Pro program. | |
 |
After some try-outs to determine how long each image should be shown the animation
is made. Animations are saved in a so-called GIF-format. The GIF-format asks a lot of storage space and it takes in consequence on slower computers sometimes a quite long time before they are loaded. Fortunately, this is with the progress of the technology not really a problem anymore. Most computers can handle this easily nowadays. Sometimes a compromise should be sought between a perfect gradient animation and the necessary storage space and associated load time. |
Of course we also want to see this lantern slide as a whole........ |
|
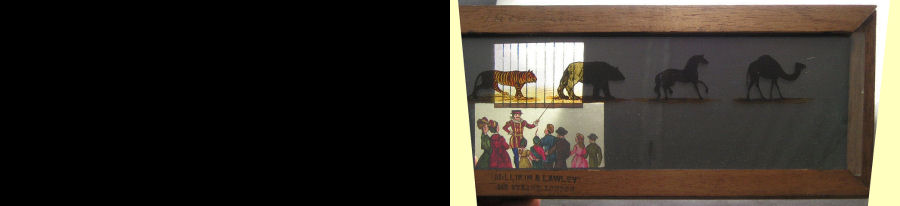
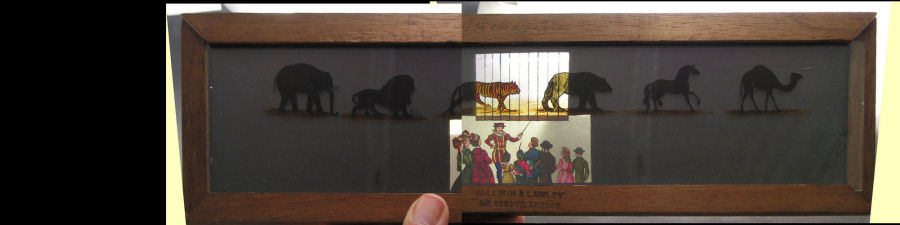
| Unfortunately there is no usable image of the whole lantern slide present. However there are two half slides, held upright by a hand, probably the hand of the current owner. Both images are below reduced displayed. They are originally 1024 x 768 pixels. To further editing this is a pleasant format; for the website, however, it is too large. | |
 |
 |
| Both photos are provided under a certain angle and thus have a perspective distortion. This should be corrected first. | |
 |
 |
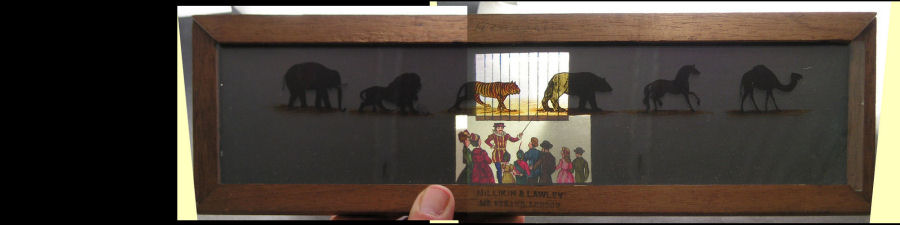
| The perspective distortion is corrected now. The two half slides will now have to be joined to one whole slide. First we can cut away what we certainly do not need. | |
 |
 |
|
Notice that the half slides are not exactly of the same size and so can not perfectly be aligned. We'll
worry about that later. First we make the canvas linear measurement about twice as large as the right image. The image is placed at the right and retains its original dimensions. |
|
 |
|
 |
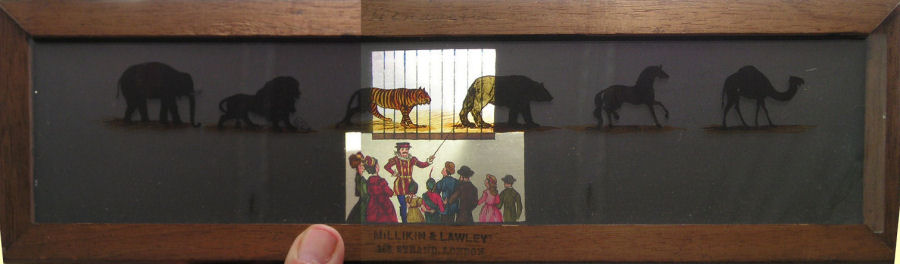
The left half is cropped along the ass of the Tiger. A small overlap is desirable. There are now sufficient elements for a proper connection and even a little bit overlapping. |
| Now the image
of the left part is laid over it as a new layer. We have to shift a little back
and forth until the layers are just about connection. The layers are not yet merged, because there are still some corrections to be done. |
|
 |
|
|
We see that the left part
is is a little bit larger than the right part. That must first be corrected. Connecting is made easier by making the new layer temporarily semi-transparent, so that the right part is visible through it. Only when everything is connected perfectly this part is made opaque again. |
|
 |
|
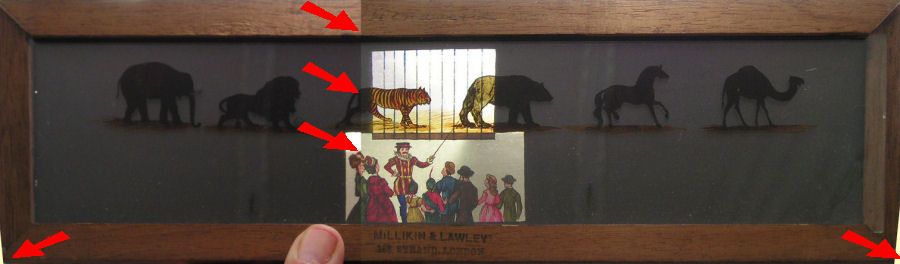
| Here the both parts fit perfectly. Well, perfect? There are still some imperfections that must be corrected. First we cut all the rubbish around the slide away. After that it looks a lot neater. | |
 |
|
| Then we have to eliminate the sharp transitions, as for example in the wooden upper edge of the slide. This happens with the clone tool. A low coverage ratio set makes the transition smooth and invisible. | |
 |
|
 |
|
| That looks very fine, isn't it? O wait ....... that thumb! It's a very nice thumb though but we can miss him. Away with it. | |
 |
|
|
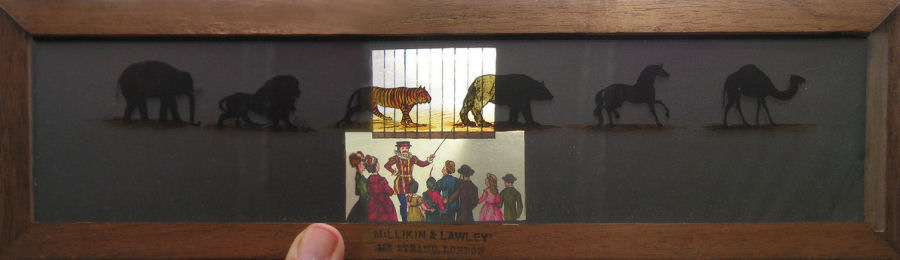
The thumb has gone. We are now
going to scale the image down to a format that is usable for the website. A
width of 900 pixels is very suitable here. In the above examples this reduction happened
earlier because of web-technical reasons. Reducing the size of the image is done only at the last because then the adjustments are the least visible. Now the slide still needs to be refreshed a little bit. Brightness, contrast, sharpness and things like that. The finishing touch. From: |
|
|
|
|
| To: | |
 |
|
| The end result. | |
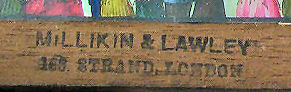 |
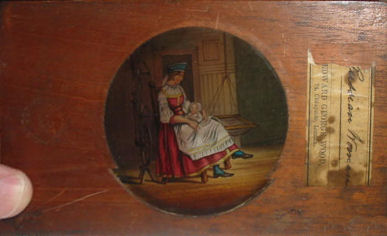
Let's make a close up of the
stamp that shows the name of the vendor. |
|
Then of course there must still come the text, in Dutch .... and in English. And this is what it looks like after all those actions on the web-page: |
|
 |
|
|
|
An explanation in the Zoo. A single hand-painted slipping slide supplied by Millikin & Lawley, London. On the fixed glass plate a group of people is pictured. A man in bright clothing gives an explanation with his pointer of the different animals in the cages. The six animals are hand painted on the oblong moving glass plate. The slide is 35.5 cm (14") long. |
|
One single magic lantern slide. Time to review: a few seconds. Maybe a minute? Time to get that slide on the site: one morning. A piece of cake???? |
|
| See also:
Making digital photo's from magic lantern slides. |
|
| |
©1997-2021 'de Luikerwaal' All rights reserved. Last update: 09-05-2021. |
|